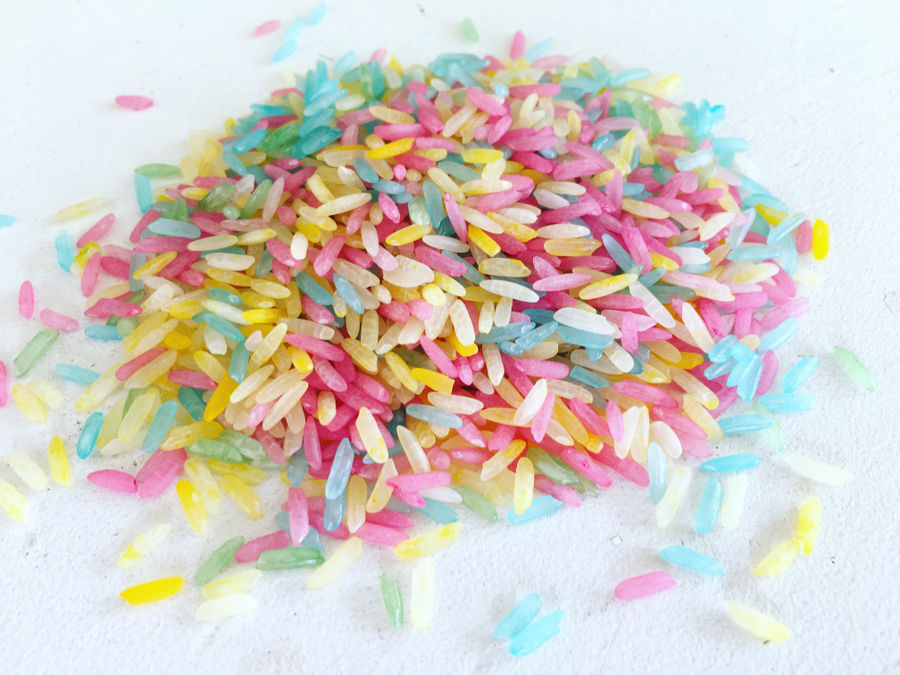
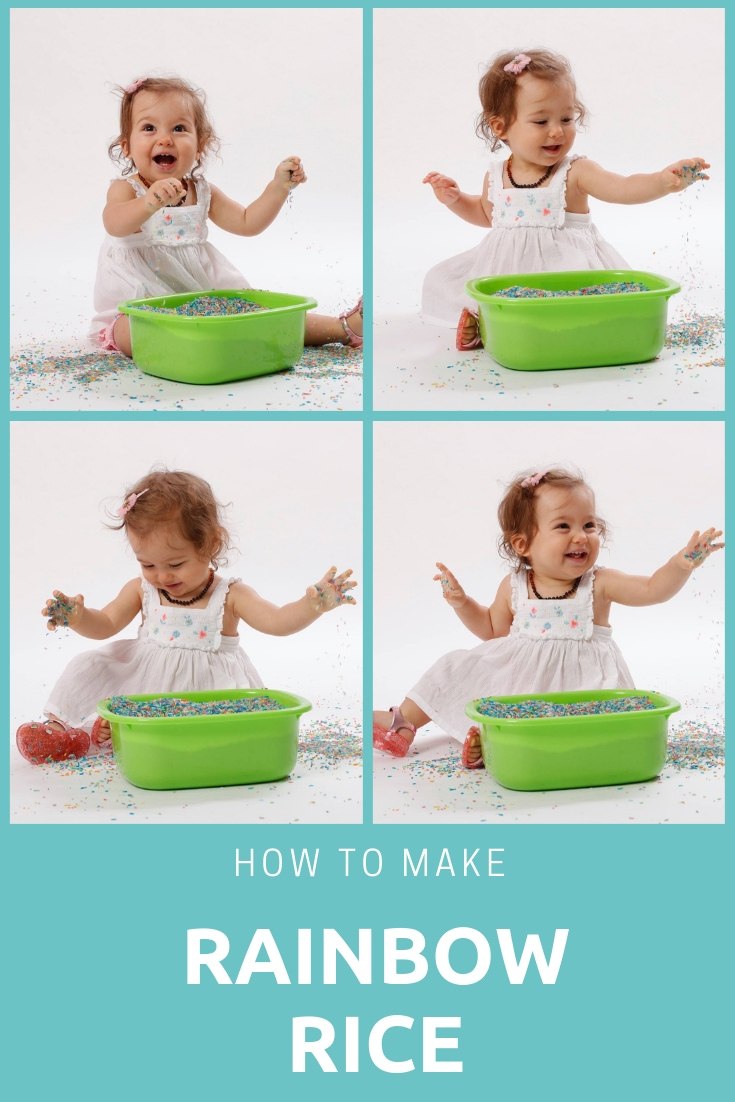
How to Make Rainbow Rice for Sensory Play
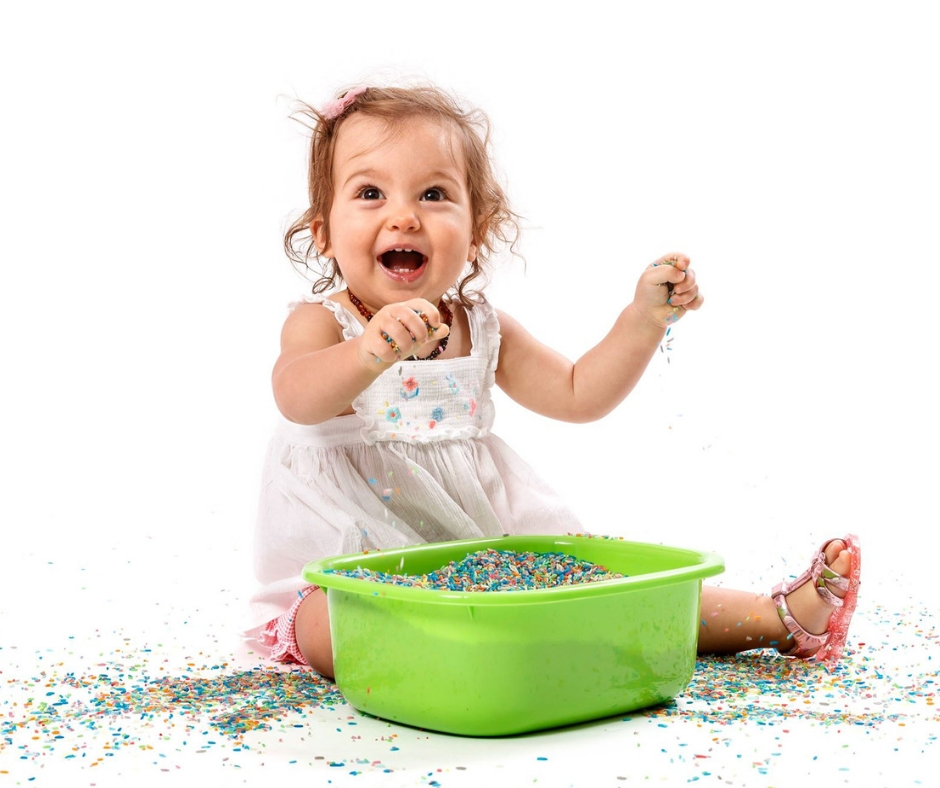
Making Rainbows strive to provide a wide variety of sensory experiences in our classes. One of our popular activities is rainbow or coloured rice. The wonderful thing is it’s super easy to make at home too!
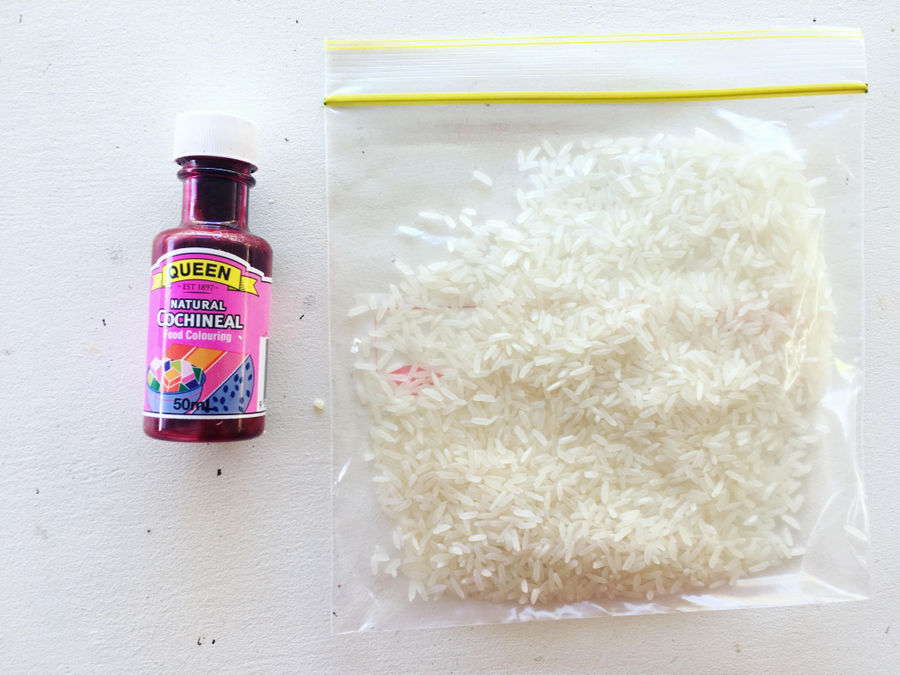
What you need
- Uncooked rice
- Food colouring
- Ziplock bags
- Tray with foil
Instructions
1. Place a handful of rice in a ziplock bag.
2. Seal the bag and rub the outside to coat the rice evenly with the colouring. Add more colouring and repeat the process until you have the desired colour saturation.
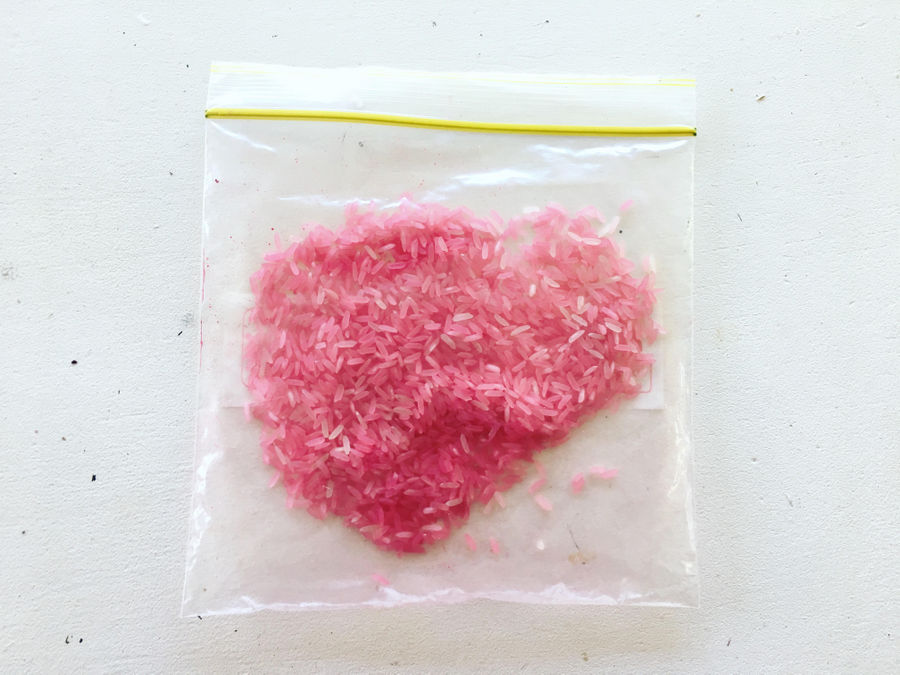
3. Repeat this process with different colours. Use a separate ziplock bag for each colour.

4. Line a baking tray with foil, and spread out your coloured rice to dry. This takes a few hours.
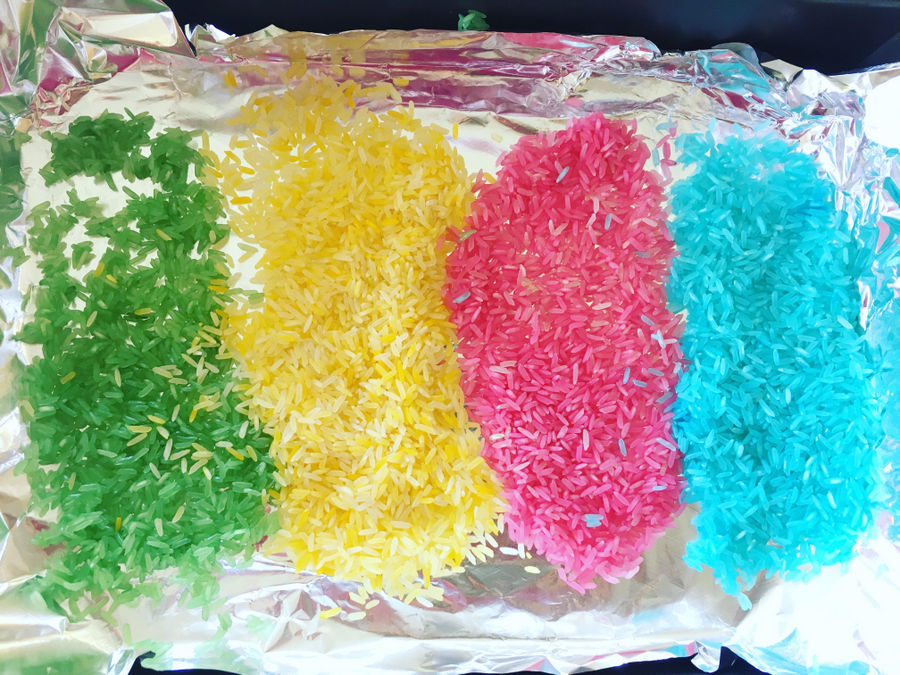
5. Once dry, mix the rice together. Pretty!
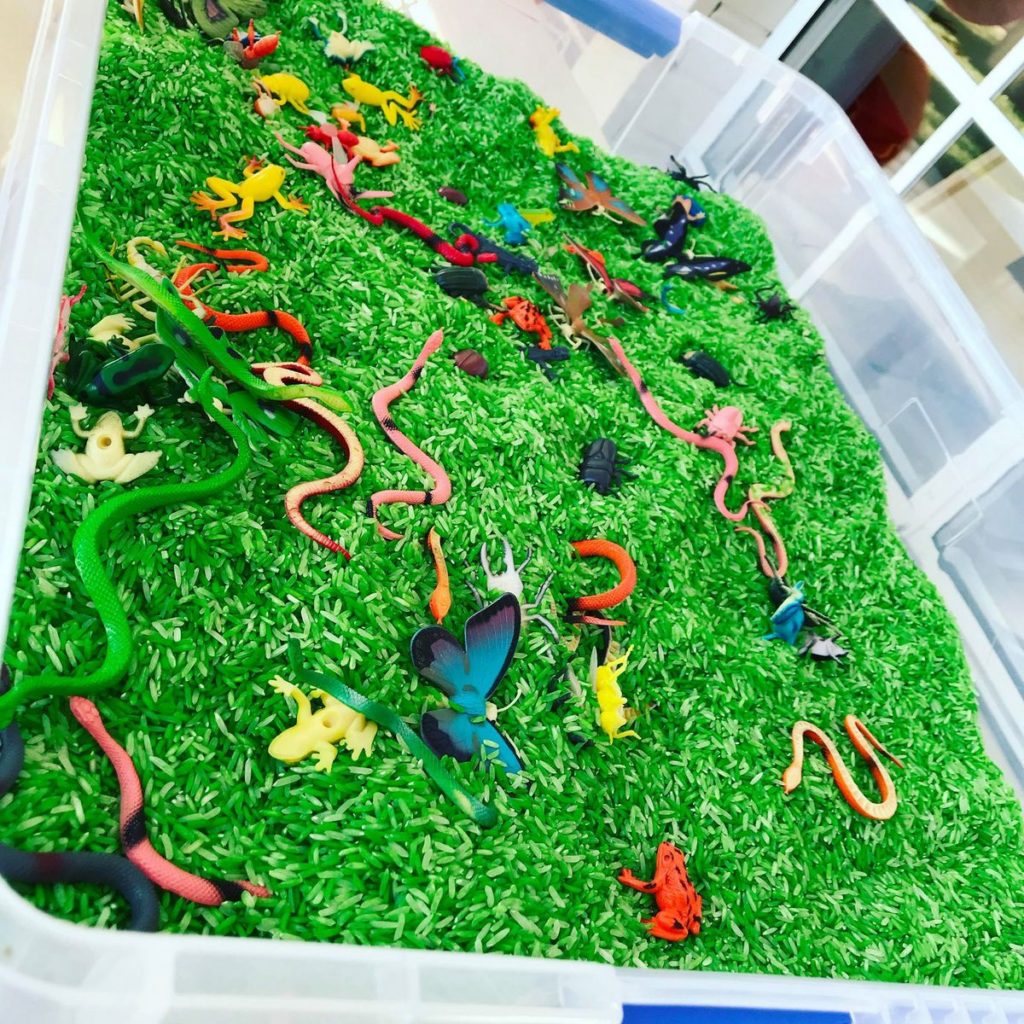
Variations
Colour green rice and hide bugs or other animals
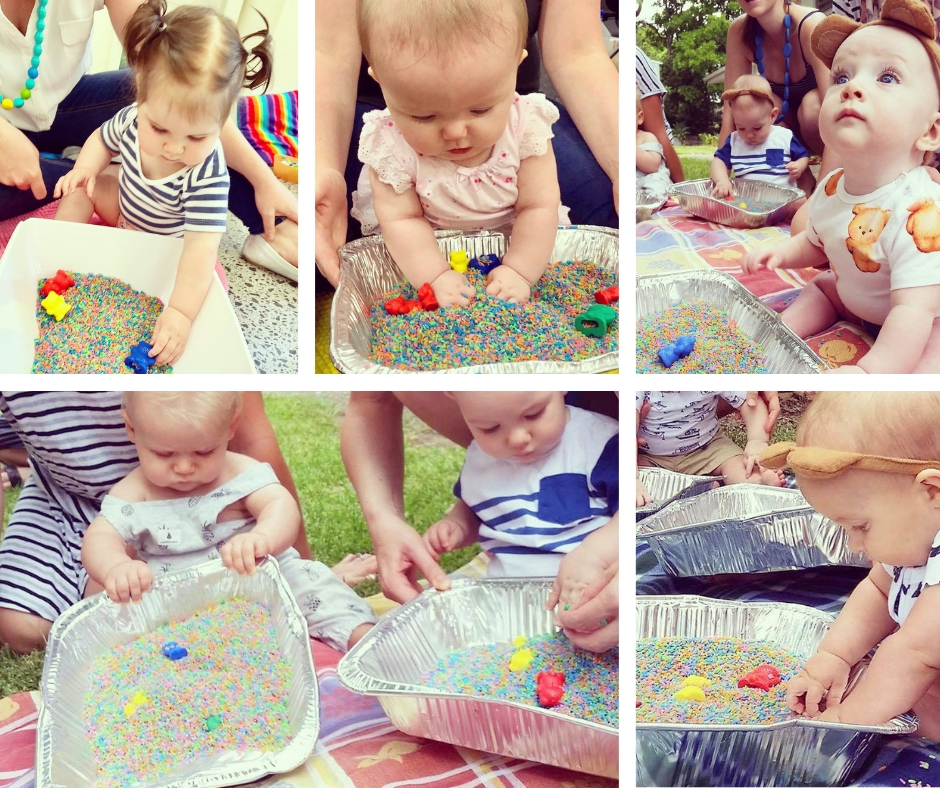
Fun Ideas
- Hide small toys or numbers. Talk about the colours or objects as you find them.
- Make a theme! Think yellow rice for sand, green for grass, blue for water.
- Birthday Parties
- Make a shaker (just put your coloured rice into an empty bottle).
See it in action!
Pin it for Later
Paper Plate Rainbows
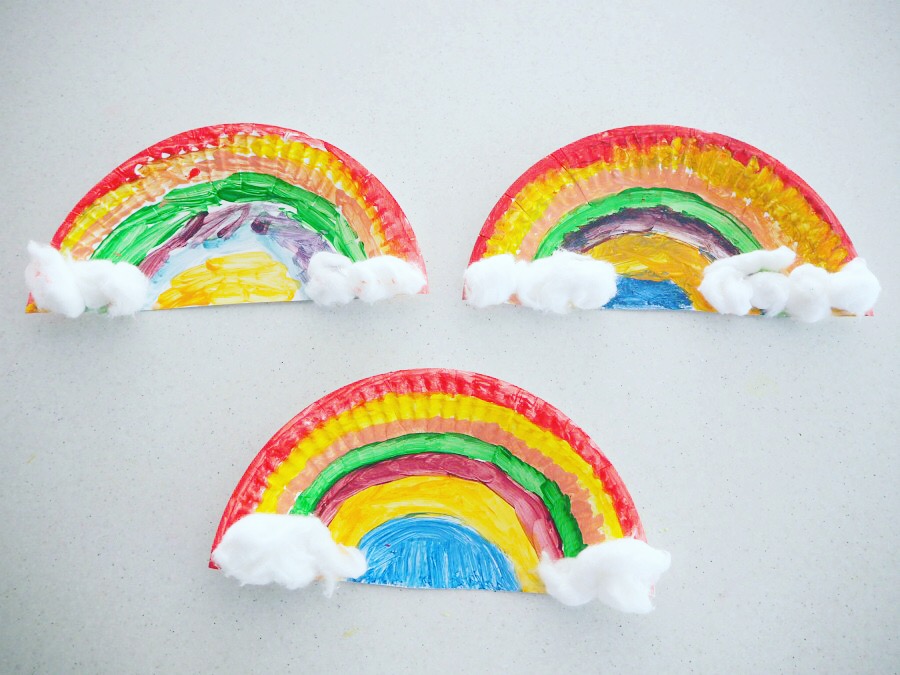
We are crazy for rainbows and cuteness here! If you’re looking for a sweet and simple activity for the mid-term break, you can turn the humble paper plate into a vibrant rainbow. This activity can provide children with a sensory experience as they decorate their rainbows, and follow it up with singing Sing a Rainbow together.
This activity is fun for:
- Birthday party craft
- Holiday craft
- Sensory activity
- Baby interaction (sing rainbow songs and wave the rainbow cloud about)
- Bedroom decor
Sing a Rainbow by Arthur Hamilton
Red and yellow and
Pink and Green
Purple and orange and blue
I can sing a rainbow
Sing a rainbow
Sing a rainbow too
Listen with your eyes
Listen with your ears
And sing everything you see
I can sing a rainbow
Sing a rainbow
Sing along with me
Materials
- Paper Plates
- Scissors
- Paint
- Paint Brush
- Craft Glue
- Cotton Balls
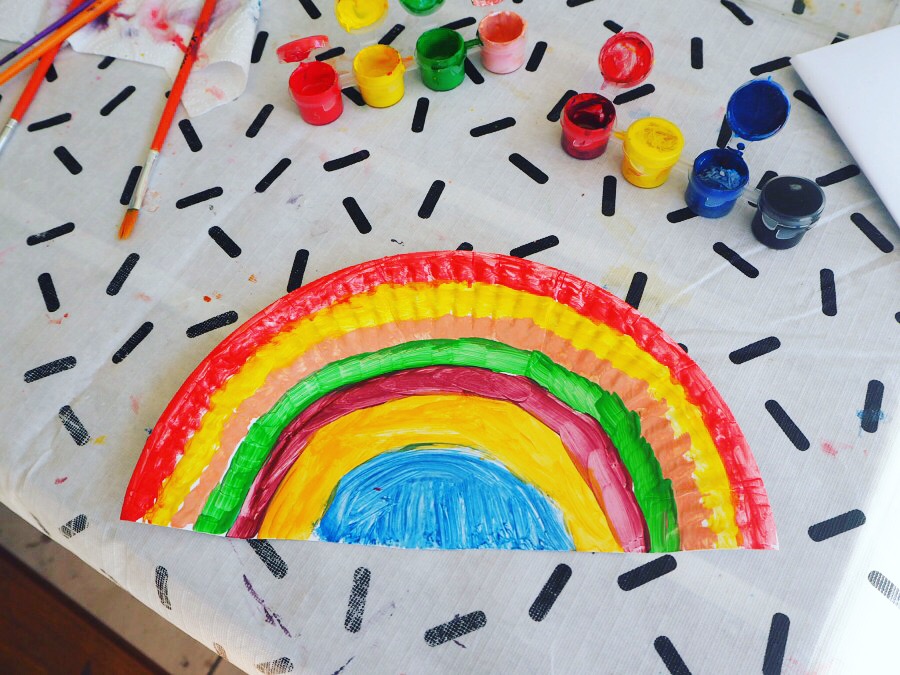
1. Cut a paper plate in half.

2. Paint each colour on the semi-circle to create your rainbow. Think red and yellow and pink and green. Purple and orange and blue. Allow to dry.
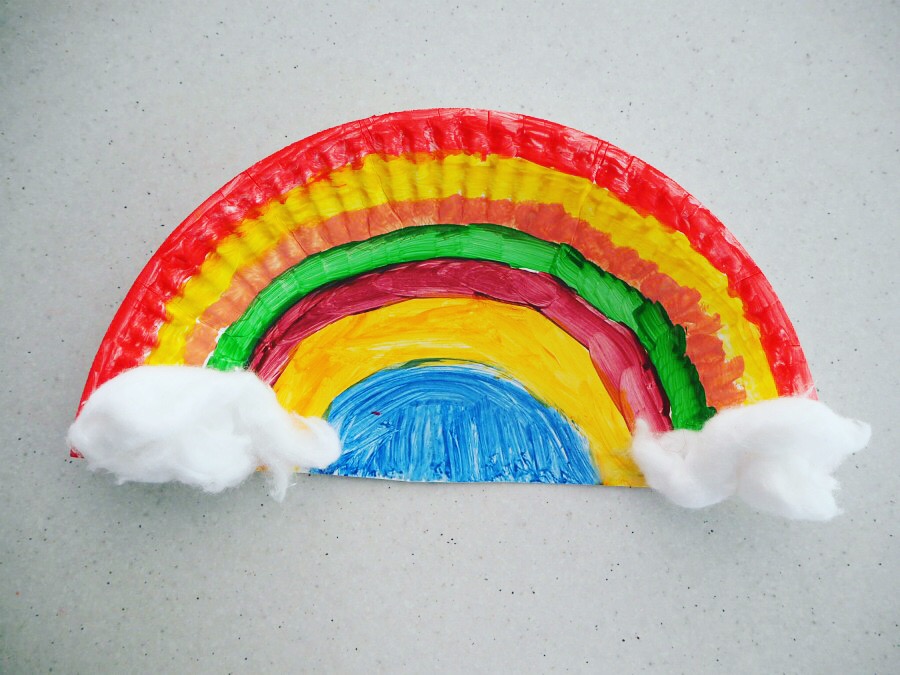
3. Once dry, glue the cotton balls at the end of the rainbows for clouds.
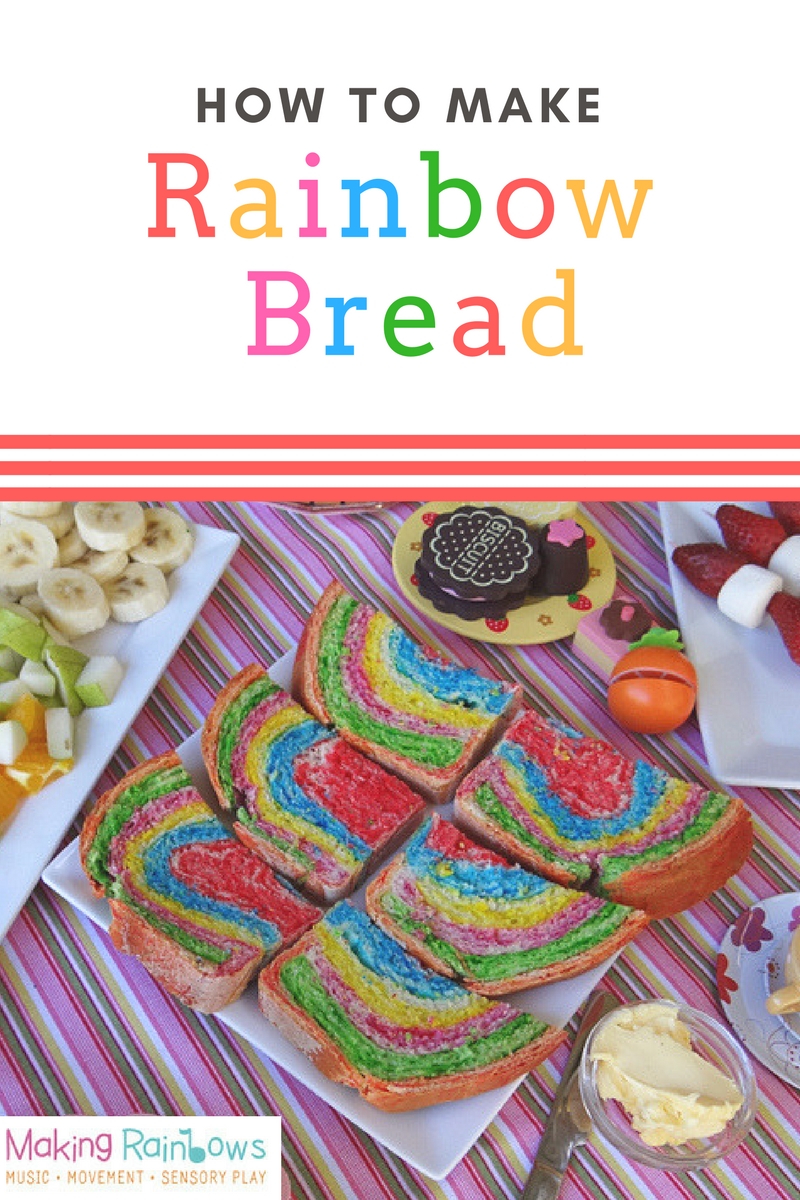
Rainbow Bread Recipe
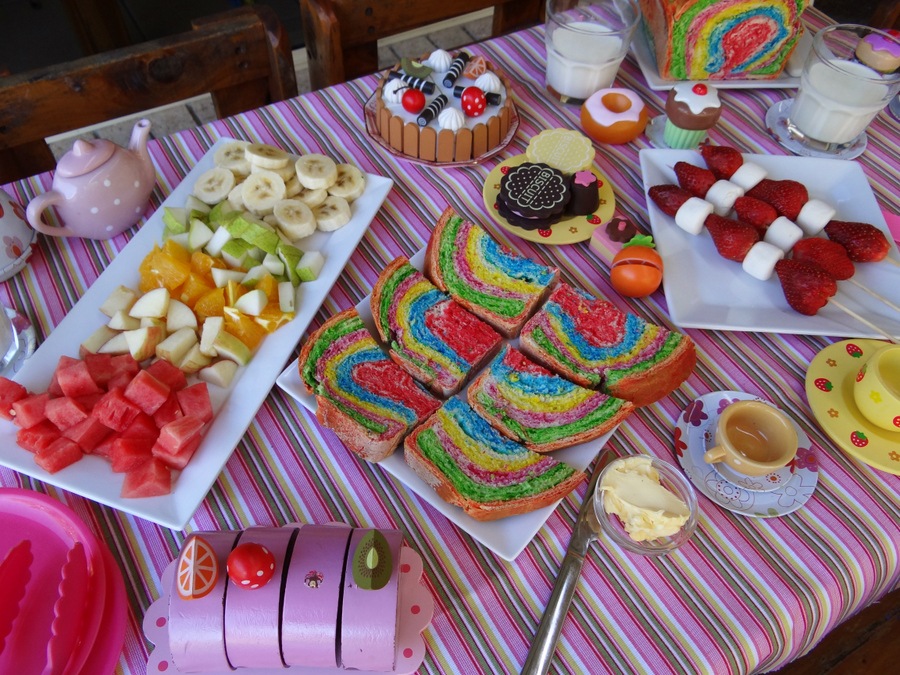
Did you know that Making Rainbows can come to your home or other location and run a birthday party program? Rainbow themed parties are always a hit, and if you’re looking to make something fun, rainbow bread is a simple process. Adding traditional food colouring to food isn’t for everyone and can affect some children so using natural colouring is an option also. You’ll find both Thermomix and regular methods below.
Ingredients
- 300g water (1 1/3 cups)
- 3 tsp yeast
- 2 tsp sugar
- 600g bakers flour (4 cups)
- 2 tsp salt
- 2 tsp bread improver (optional)
- 15g oil (1 tablespoon)
Thermomix preparation:
- In mixing bowl, add water, yeast & sugar. Heat 1 min 30 secs/37C/speed2.
- Add flour, salt, bread improver (if using) and oil. Knead 6 min/interval setting.
- Leave dough in mixing bowl and place in a warm place until doubled in size. Tip: put the mixing bowl and lid into the oven (turned off) and leave for 1 hour until the dough doubles in size. Another option: place dough in a microwave with a cup of boiling water or sit the bowl in a heat pack to assist with rising.
- Once risen, knead for a further 30 seconds – either by hand or using the Thermomix.
- Roll out the dough and cut into small pieces. You’ll need 3-4 balls, depending on how many colours you are using. Add food colouring to each ball and massage into the dough. This step gets messy and will leave your hands totally stained. Don’t worry, it comes off! Otherwise, you can use gloves with this step.
- Roll out each ball and place the layers on top of each other.
- Roll up the layers into a large sausage shape and place in a greased loaf tin. Place in a warm spot for 30 mins or until the dough has risen to the top of the tin.
- Once risen, place dough in a cold oven and set to 200°C fan forced. Placing dough in a cold oven gives the dough more time to rise as the oven heats up. Cook for 30 mins. Tip: spray the top of the dough with water before baking and this will give the loaf a crusty top.
Regular preparation:
- Pour luke warm water into a small bowl. Then add the yeast, then salt and sugar. Set aside and let it sit for few minutes.
- In another bowl, measure the flour, bread improver (if using).
- Make a well in the centre of the flour and pour in the liquid.
- Add the oil in the centre where the liquid is.
- Mix with a spoon until just combined.
- Throw a little flour in the bench where you are working. Use hands to form a ball and knead for about 5 minutes. To knead, I fold the dough in half towards myself, and then push down with my palms and repeat.
- Place in a bowl and allow to rise (ideally somewhere warm) in a bowl for 30 to an hour minutes (cover with a clean tea towel). Tip: put the mixing bowl and lid into the oven (turned off) and leave for 1 hour until the dough doubles in size. Another option: place dough in a microwave with a cup of boiling water or sit the bowl in a heat pack to assist with rising.
- Once risen, remove the dough from the bowl and knead for a few minutes on a floured surface.
- Roll out the dough and cut into small pieces. You’ll need 3-4 balls, depending on how many colours you are using. Add food colouring to each ball and massage into the dough. This step gets messy and will leave your hands totally stained. Don’t worry, it comes off! Otherwise, you can use gloves with this step.
- Roll out each ball and place the layers on top of each other.
- Roll up the layers into a large sausage shape and place in a greased loaf tin. Place in a warm spot for 30 mins or until the dough has risen to the top of the tin.
- Once risen, place dough in a cold oven and set to 200°C fan forced. Placing dough in a cold oven gives the dough more time to rise as the oven heats up. Cook for 30 mins. Tip: spray the top of the dough with water before baking and this will give the loaf a crusty top.

Rainbow Cloud Craft
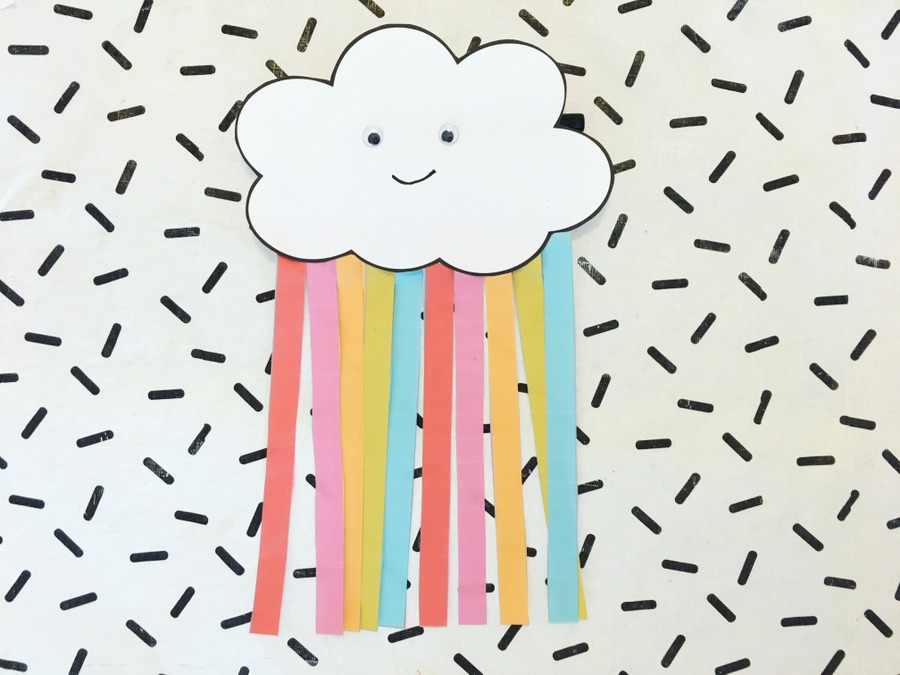
HELLO ADORABLE!
Here’s a cute craft you can whip up with your little ones and you probably have everything you need for this activity in your house right now.
This activity is fun for
- Birthday party craft
- Holiday craft
- Sensory activity
- Baby interaction (sing rainbow songs and wave the rainbow cloud about)
- Bedroom decor

Materials
- Template (print it here)
- Scissors
- Felt pen
- Googly eyes (optional)
Instructions
- Print the 2-page template by clicking the image below or click here.
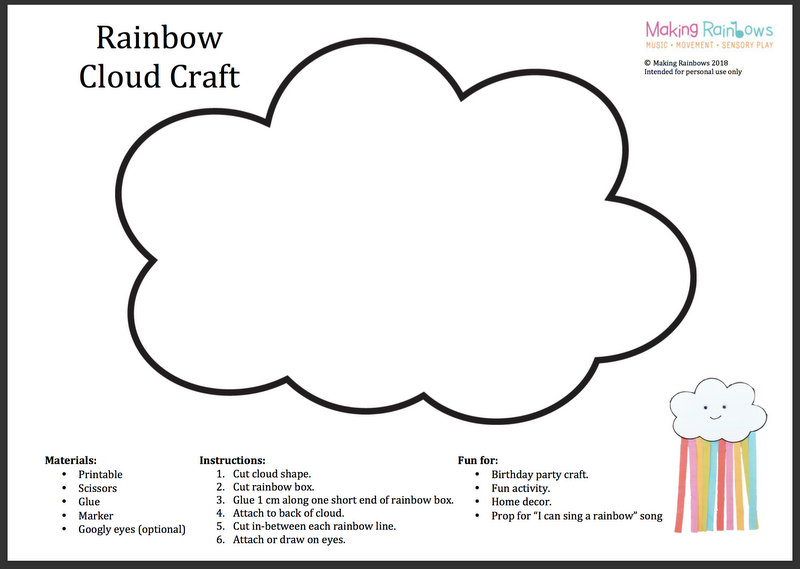
2. Cut the cloud shape.
3. Cut out the rainbow rectangle, leaving a section of white along one of the short sides (to allow you to glue).
4. Glue along the short edge and place behind the base of the cloud.
5. Using scissors, cut in between each coloured line.
6. Repeat with all the lines until you have rainbow streamers coming from the cloud.
7. Draw in the face and add googly eyes with glue if desired.
Rainbow cuteness!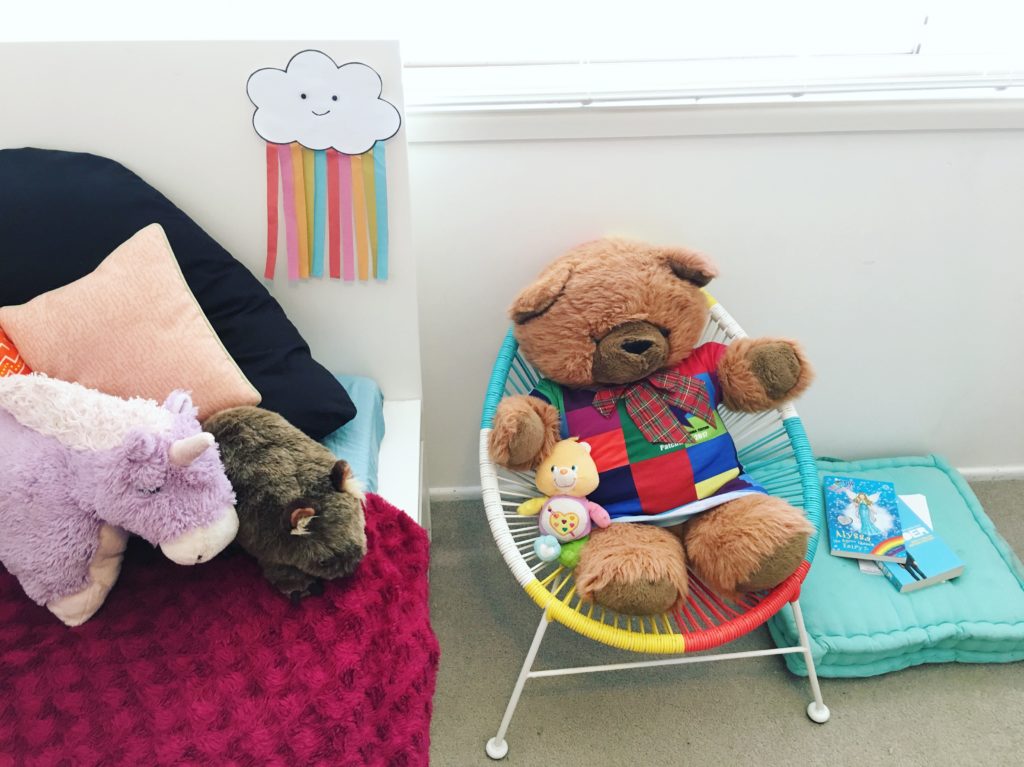
Rainbow Wind Catcher

Making Rainbows isn’t only about a fun hour of music, movement and sensory play each week, we are about fostering connection and precious moments with your little one every day. If you have a spare five minutes, this is how you can turn a simple cardboard roll into a twirl of wind-catching rainbows. Babies will enjoy tracking the bright colours and movement and young children can blow or run with their rainbow streamers.
This activity is fun for
- Birthday parties
- Toddler play
- Baby interaction
- Sensory activity
- Dancing
Materials
- Scissors
- Sticky Tape
- Paper Glue
- Cardboard Roll
- Crepe Streamers
- Template

Print the template
Click the template picture below for the free Rainbow Wind Catcher printable PDF file.

Instructions

- Print & cut the rectangle template. You can download for free here.
- Glue the template rectangle to a cardboard roll.
- Cut sections of crepe streamers approximately a 20 centimetres length. You’ll need approximately six lengths.
- Tape crepe paper lengths inside of cardboard tube and trim ends to desired length. They need to be short enough to move when you blow through the opening and long enough for movement.
Tip: It’s easy to attach the streamers by using a section of tape on the streamer before attaching it inside the cardboard roll.

Game Ideas
1. Sing a Rainbow
Sing a Rainbow is a popular song that was written by American songwriter, Arthur Hamilton in 1953, and the world has enjoying singing it ever since. Delight your little one with this song while waving the rainbow maker around, tickle their arms with the soft streamers. Listen to Delta Goodrem’s whimsical version here.
Babies will enjoy the interaction, plus will be learning too! Dr Grant from Gateway Therapies says, “Babies are born with their visual acuity, processing and perceptual skills still developing. While they may struggle to see details, they are programmed to be interested in moving objects, and things that have clear outlines and contrast. A rainbow wind catcher can help your baby to practice focussing on and tracking moving objects. These skills are important later in life for tasks such as reading, and catching a ball. Plus, they will have fun and be engaged too.”
Sing a Rainbow by Arthur Hamilton
Red and yellow and
Pink and Green
Purple and orange and blue
I can sing a rainbow
Sing a rainbow
Sing a rainbow too
Listen with your eyes
Listen with your ears
And sing everything you see
I can sing a rainbow
Sing a rainbow
Sing along with me
2. Run a Rainbow
Young children can run in the backyard or park with the rainbow maker high above their head. Watch the wind tunnel through the roll making the colourful streamers fly in the air.

3. Blow a Rainbow
Young children (and parents) can blow through the cardboard roll to see how wild they can make the rainbow streamers fly.

4. Shake & Dance A Rainbow
The colourful streamers make for wonderful pom-pom shakers too. Put on your favourite music, spin, dance and shake away.
5. Do a Rainbow Party
Add some colour to your next rainbow themed party by providing a rainbow maker to enjoy and take home for each child. Children can even make their own with whatever coloured streamers they like.

About Making Rainbows
Making Rainbows is a Brisbane based business connecting children, families and communities through music, movement and sensory play. Find more details about the current class times and locations here.